How to Setup Your Monetization Pages
When you install and activate ChamaWP, the monetization pages are automatically created for you! You can confirm that the pages have been created by going to the Pages → All Pages menu in your WordPress dashboard
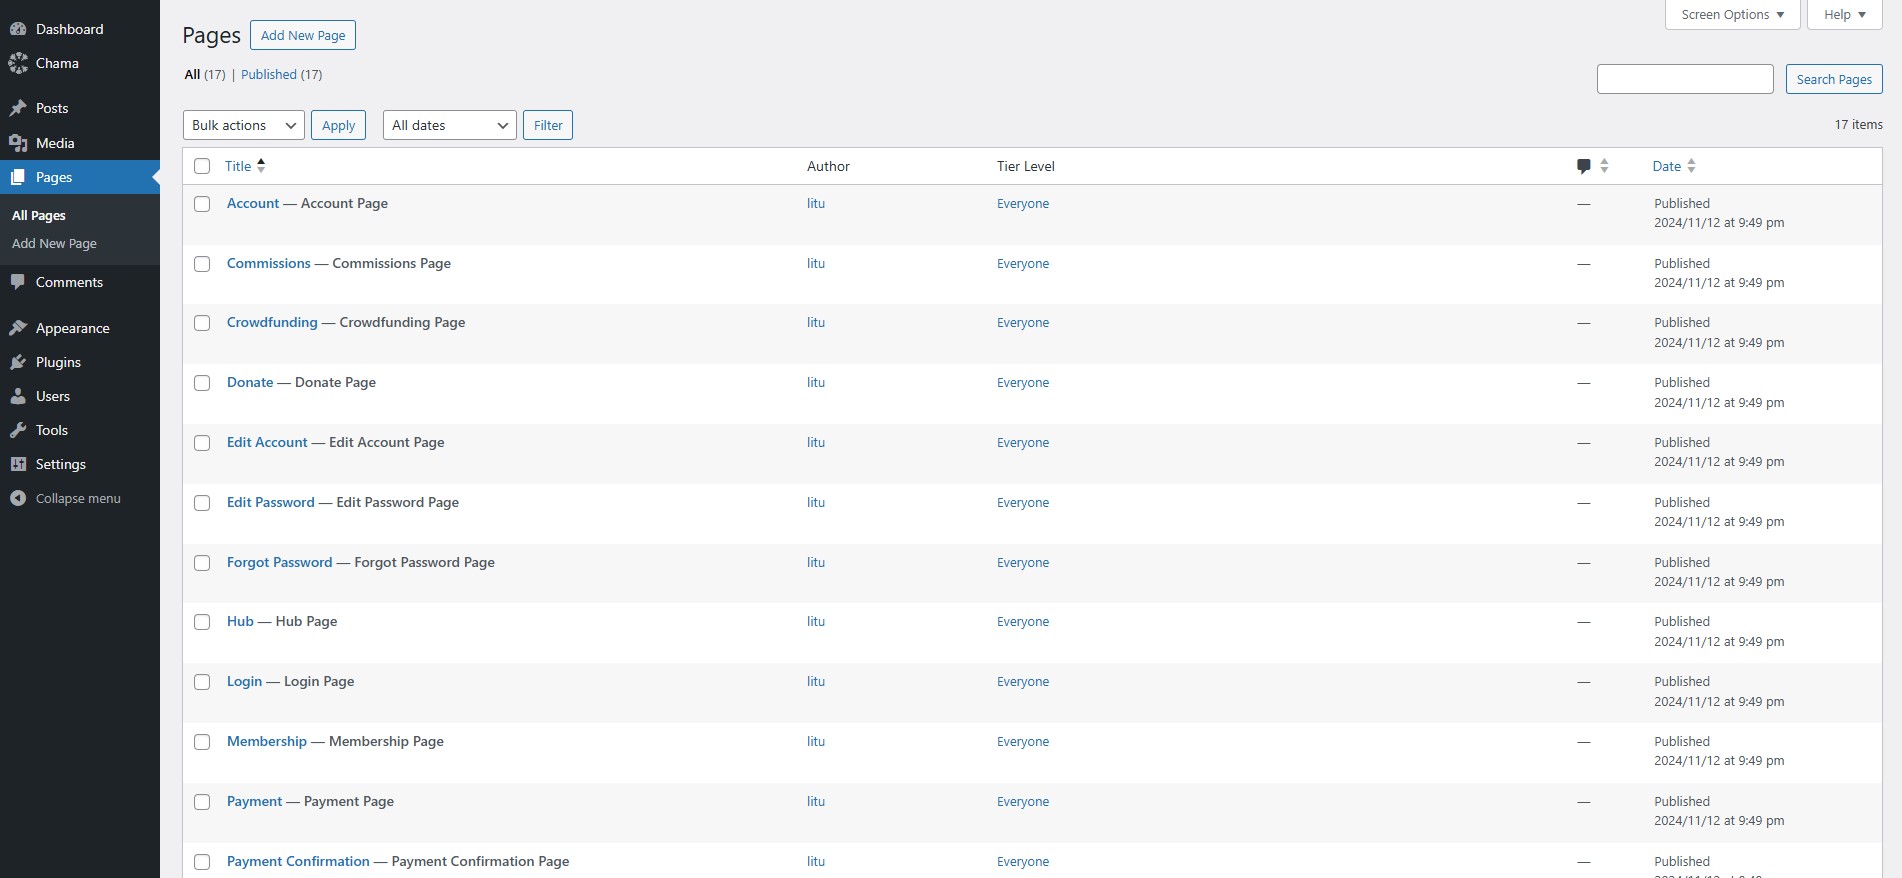
However, you will still need to do some configuration to make sure that the pages are showing up correctly according to your preference. The following steps will guide you through getting your monetization pages correctly configured.
Configure Google reCAPTCHA
To avoid being a victim spam payments, it is highly recommended that you connect ChamaWP to your Google reCAPTCHA account from the Chama → Settings → Google reCAPTCHA page. This link gives you a detailed guide on how to get that set up.
Configure User Settings
You will find a few settings under the Chama → Settings → Users page that help control how users interact with ChamaWP.
- Require login – this determines whether users will be prompted to login before making a payment. This option is highly recommended if you want to minimize fraudsters targetting your payment forms.
- Require email verification – enable this option if you want to have a FREE membership tier which allows non paying members to access protected content. It is also an effective method for building up your mailing list within your WordPress dashboard.
- Disable admin bar – this prevents the WordPress admin bar from being displayed when your supporters are logged into your website. We recommend enabling this as soon as you install and activate ChamaWP.
- Prevent dashboard access – this prevents your supporters from accessing the WordPress admin dashboard when they are logged in. We recommend enabling this as soon as you install and activate ChamaWP.
Set Up the Header Content for Your Monetization Pages
All your monetization pages (except for the user account related pages) have a header section which allows you to display your branding information.
You can populate the information that goes into the header section by going to the Chama → Settings → Content page in your WordPress dashboard.
Set Up the Colors You Wish to Use on Your Monetization Pages
If you wish to setup the colors that will be used for buttons, progress bars, text and sections of the monetization pages, simply go to the Chama → Settings → Branding page in your WordPress dashboard and make the changes according to your preference.
Set the Minimum Amount for Your One-Time Donation Payments
By default, the minimum amount that can be paid for a one-time donation is 1.00. To change that amount, go to the Chama → Settings → Payment Limits page in your WordPress dashboard.
Confirm Your Email Settings
The Chama → Settings → Email Settings page includes settings that allow you to determine which emails will be sent and what will be the basic settings for those emails.
Creating Membership Tiers and Protecting Your Content
If you are looking to provide exclusive content to paying subscribers, there a couple of steps you would need to follow:
- Create the membership tiers by going to the Chama → Add Tier page. Make sure to add at least the Title of the tier, a Description, the Price per Month and the Featured image.
- Once you have added all your tiers, you can protect your content in a variety of ways:
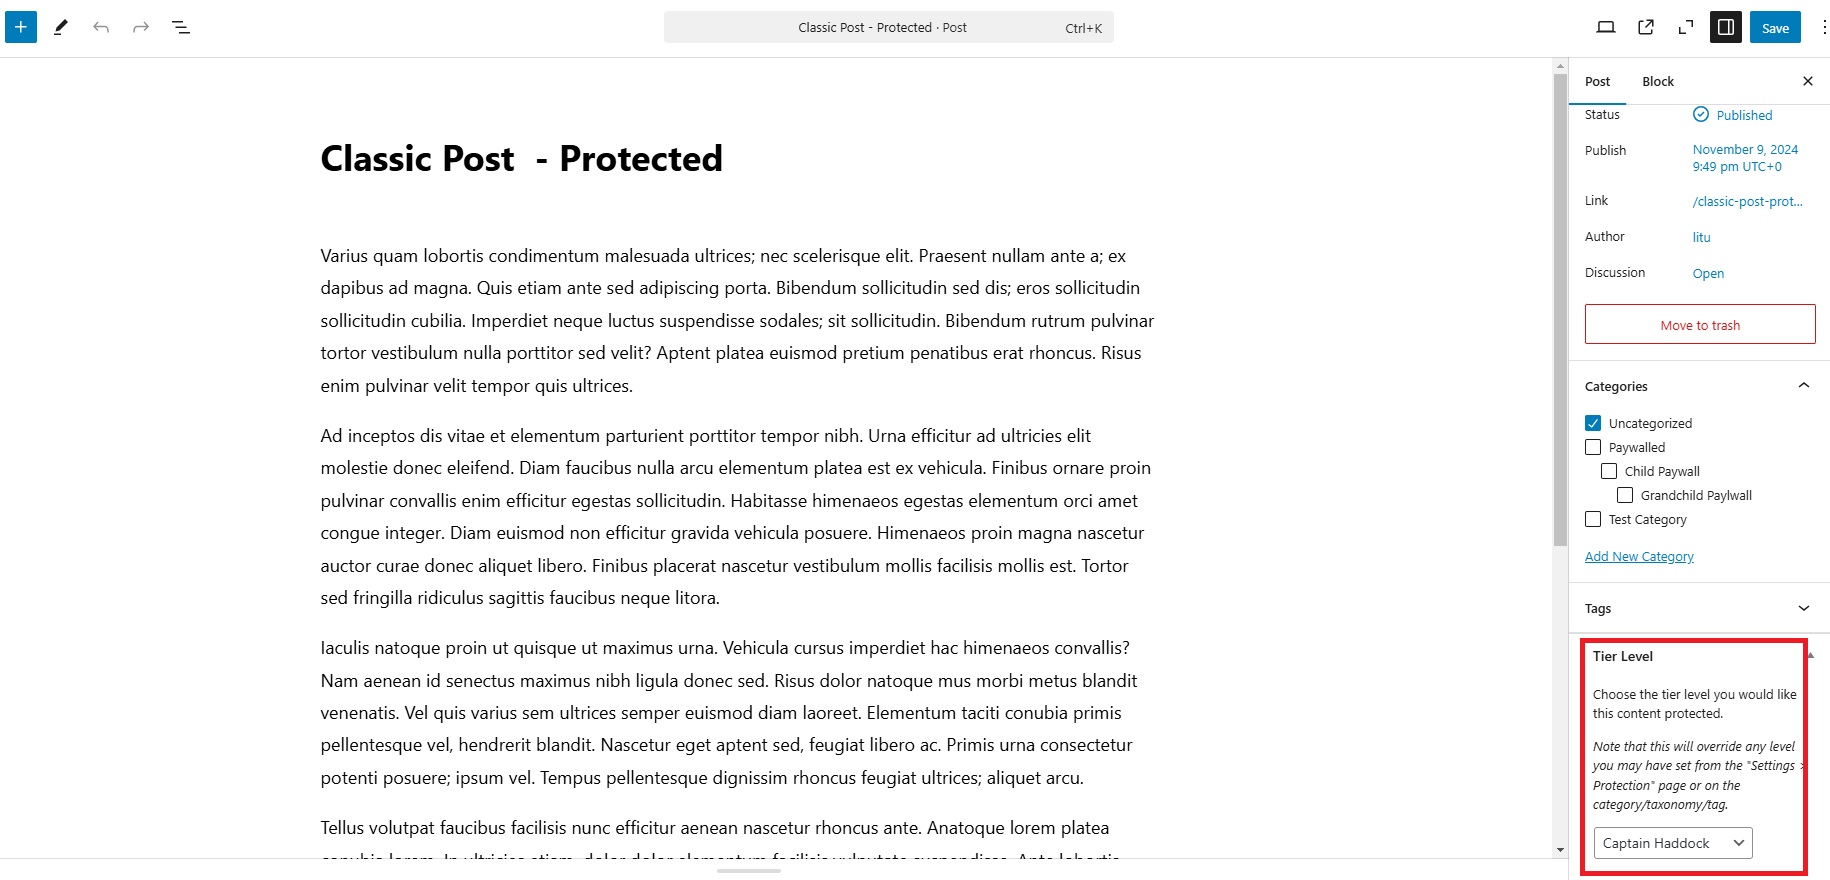
- Editing an individual page/post/custom post type(CPT). For example for a post, you would simply go to the Posts → All Posts menu in your WordPress dashboard and select the post that you would like to protect. Then, from the right sidebar, select the tier level you would like the post protected at and then click on the Save button.
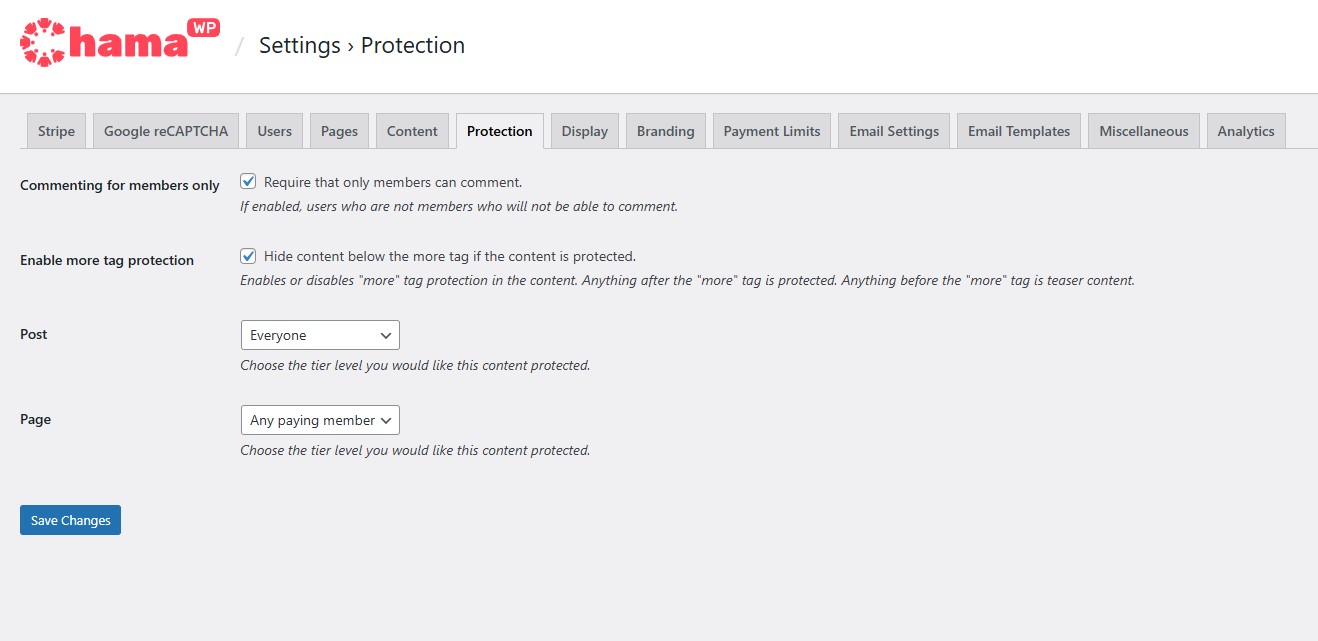
- Go to the Chama → Settings → Protection page and then select whether you want the comments protected and also if you want your posts, custom post types(CPT) and pages globally protected at your preferred tier level.
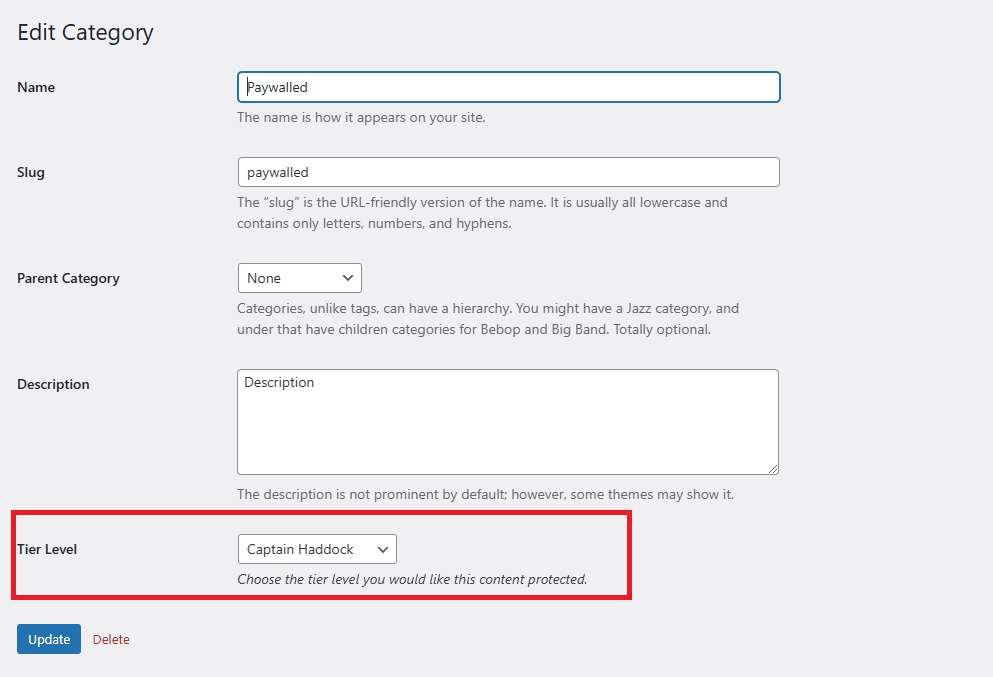
- Use categories/tags and custom taxonomies(for custom post types – CPT) to protect multipe posts/custom post types(CPT). For example, if you wanted to protect a category for posts, simply go to the Posts → Categories menu and select the category you wish to protect. Select the Tier Level and then click the Update button.
- Editing an individual page/post/custom post type(CPT). For example for a post, you would simply go to the Posts → All Posts menu in your WordPress dashboard and select the post that you would like to protect. Then, from the right sidebar, select the tier level you would like the post protected at and then click on the Save button.
Create a Crowdfunding Campaign
If you wish to setup a crowdfunding campaign, go to the Chama → Add Campaign page. At a minimum, you will need to add the following fields:
- The Title of the campaign
- The main description for the the campaign
- A short description of the campaign
- The End Date of the campaign
- The Target Amount of the campaign
- The Featured image of the campaign. Note that if you have a Introduction Video entered, the featured image will not be displayed.
Sell Commissions
If you are looking to sell commissioned work (either digital or physical products) or your services, you can set that up by going to the Chama → Add Commission page in your WordPress dashboard. At a minimum, you will need to add the following:
- The Title
- A Description
- The Price
- The Featured image
Determine Which Monetization Pages Will Be Displayed
ChamaWP gives you the flexibility to determine which monetization pages will be displayed to your users. To do so, simply go to the Chama → Display page in your WordPress dashboard. You can then enable the pages and analytics you wish to have displayed.
Make a Test Payment
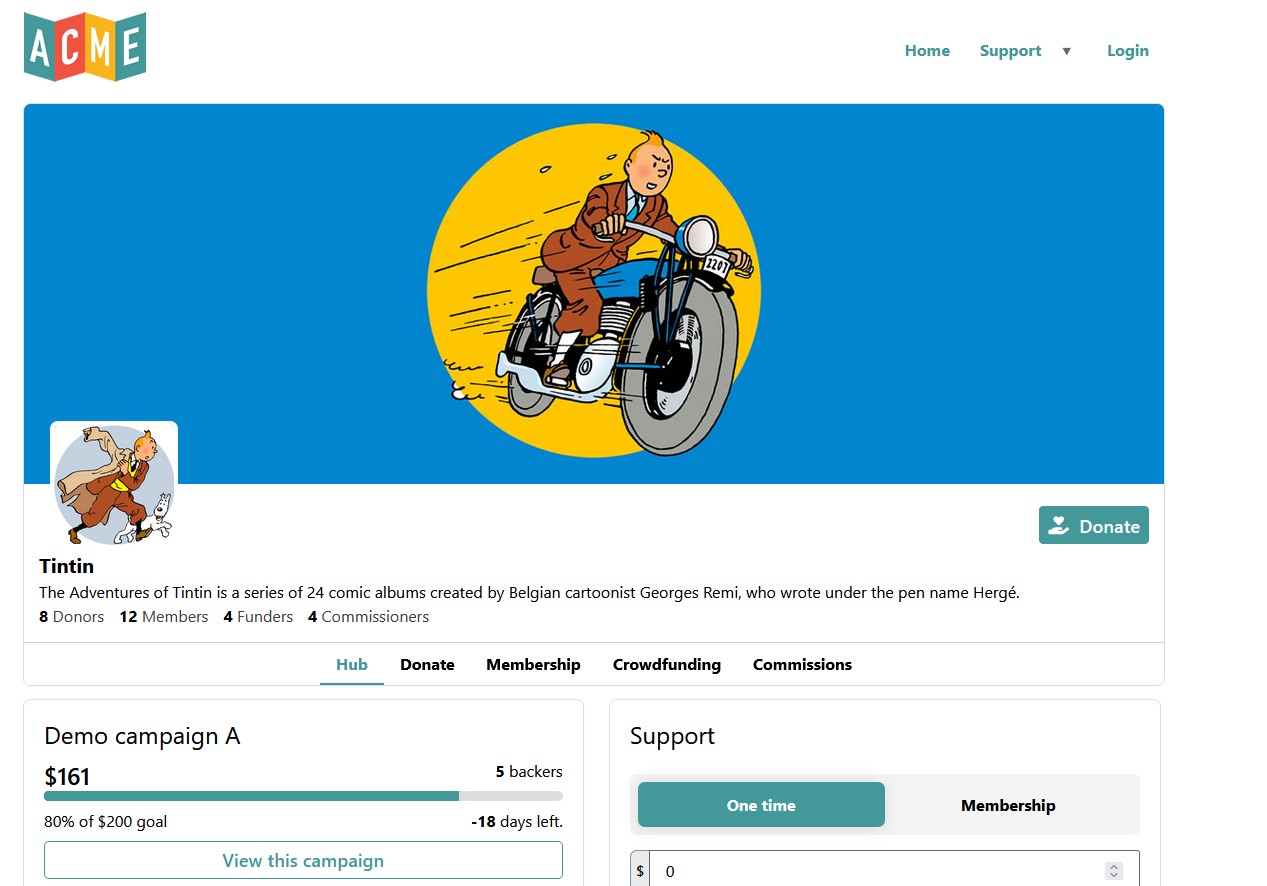
Once you have gone through the above steps, you should be all set. You are now ready to take your monetization pages for a test run. Simply access the links to the enabled pages. You should be able to see the links to each of your monetization pages by going to the Pages → All Pages menu. For example, the Hub page (which contains a snapshot of all your monetization offerings) can be accessed at www.yourdomainame.com/hub
You can then make a test donation. While in Test Mode you can use any number of test card numbers provided by Stripe.
Stripe provides international test card numbers that should be used to properly reflect the appropriate ZIP/Postal code configuration for your country or locale. For example, the 4242-4242-4242-4242 test card number is considered a US-based number and will display a 5-digit ZIP Code field.
Once you’ve submitted the payment, Stripe will process the test payment, and once you are redirected to the confirmation page, the payment should show up as complete in your WordPress Dashboard. If it does not show up as complete make sure to confirm that your webhooks have been correctly configured.
If you have membership tiers, a crowdfunding campaign or a commission set up, you may test making payments on each of their respective monetization pages.
Ready To Go Live!
If you are satisfied with the results of testing your monetization pages, you can take them live by going through the following steps:
- Go the Chama → Settings → Stripe page and select Live Mode for the Payment mode option
- Click the Save Changes button
- Your Stripe Connection will most likely show up as disconnected. Go through the Stripe Connection steps again as described here. Just make sure to disregard any references to enabling Test Mode.
Now you can share your new monetization pages with your supporters!