How to Connect your Stripe Account to ChamaWP
After you have installed ChamaWP you’ll now need to connect to your Stripe account. By default, ChamaWP will enable the “Test mode”. We highly recommend staying in Test mode until you’ve completed setting up and testing out your monetization pages. Read more about using Test mode.
In order to accept payments with Stripe you need to have:
- A valid SSL certificate installed on your website
- An active Stripe account
See Stripe’s business information requirements.
Stripe does restrict certain businesses from using their service. View the list of restricted business →
Connecting To Stripe
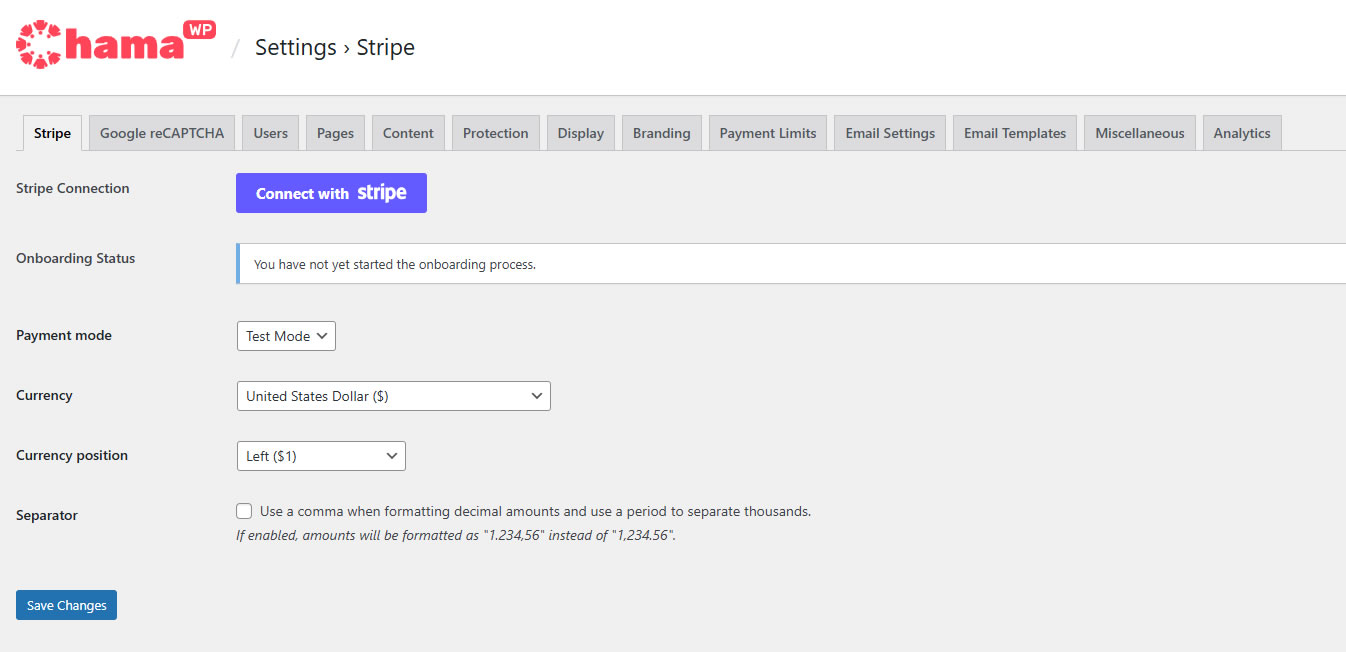
In your WordPress admin, go to Chama → Settings → Stripe. Click the Connect with Stripe button to connect ChamaWP to your Stripe account.
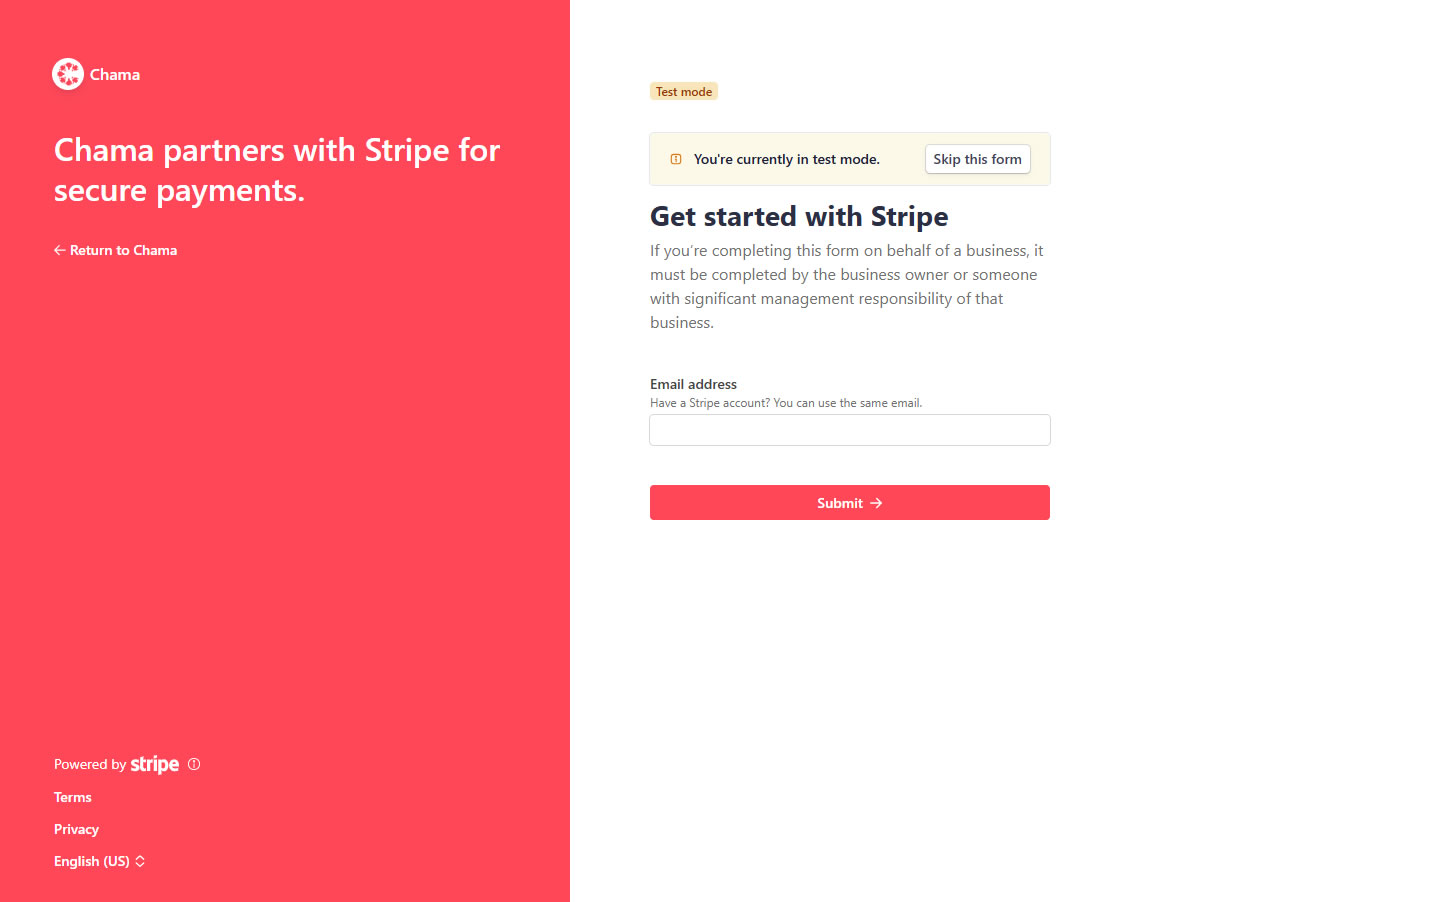
You’ll be taken to Stripe.com, where you’ll be prompted to create a new Stripe account or log in to your existing one.
Do not use “Skip this form” as this will create a temporary Stripe account that cannot be recovered or moved to Live Mode.
If you previously had and account with Stripe, you can connect to a Stripe account that you may have created previously, However, Stripe highly recommends that you create a brand new account in your Stripe dashboard to avoid any potential conflicts with other platforms that you have previously connected to.
Make sure that you submit all the information that Stripe needs. If this is a new Stripe account, you will most likely need to do identity verification before Stripe can allow you to start accepting payments.
Once you complete this process, you’ll be taken back to your website’s Stripe settings tab. Now, it’s time to setup your monetization pages.
Disconnecting From Stripe
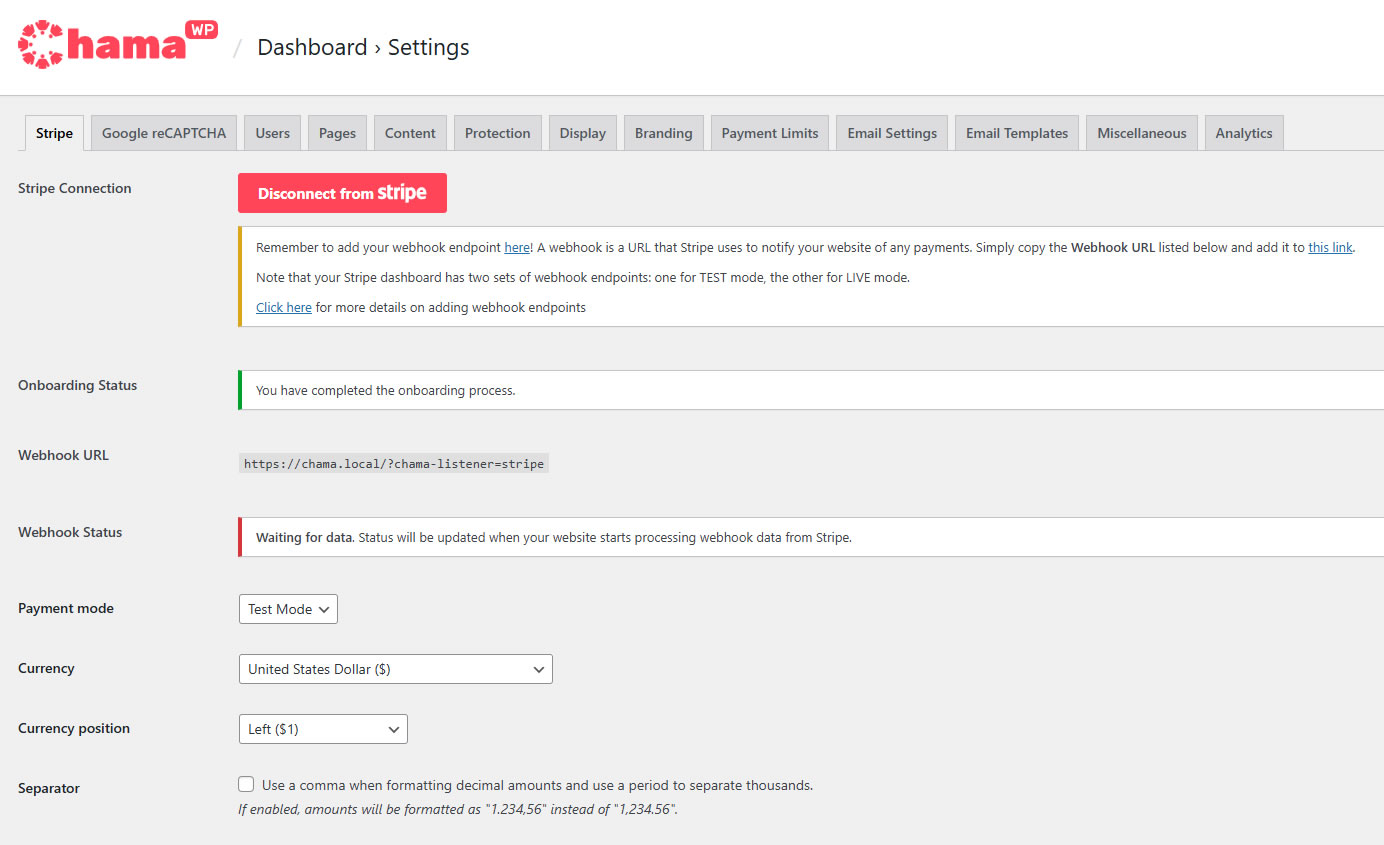
If you need to disconnect from Stripe for whatever reason, in your WordPress admin, go to Chama → Settings → Stripe. Just click the Disconnect from Stripe button as shown below:
Configure your webhook for Stripe
If you want your Stripe transactions to show up in your WordPress dashboard and be marked as complete, you must configure your webhook at Stripe. If you are offering subscription memberships, you will need the webhook to activate the subscriptions automatically. The webhook is a URL that Stripe uses to communicate with your website.
You will find the webhook URL by going to the Chama → Settings → Stripe page. You should find it listed next to the Webhook URL field. Copy that to your clipboard for the following step.
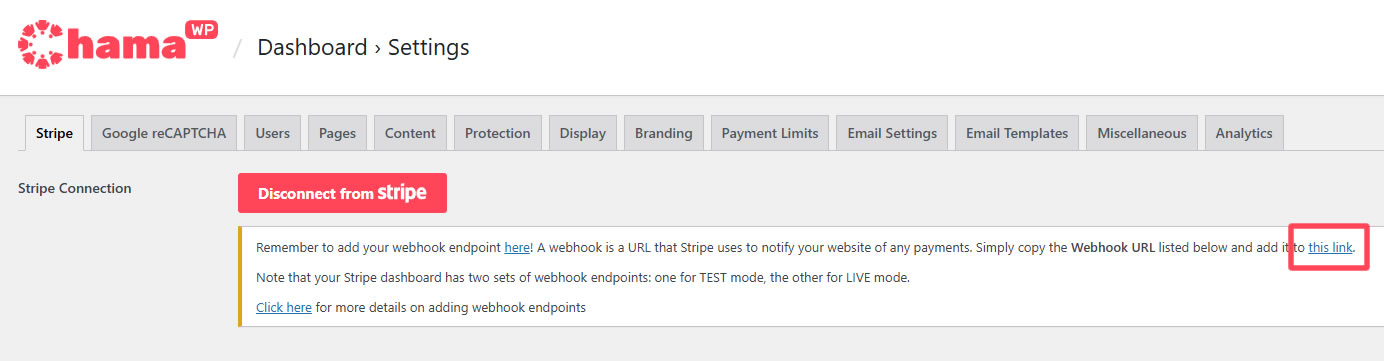
In the Stripe Connection settings section on the Chama → Settings → Stripe page, click on the link as highlighted below:
On that page, click the “Add endpoint” button and paste in your webhook URL.
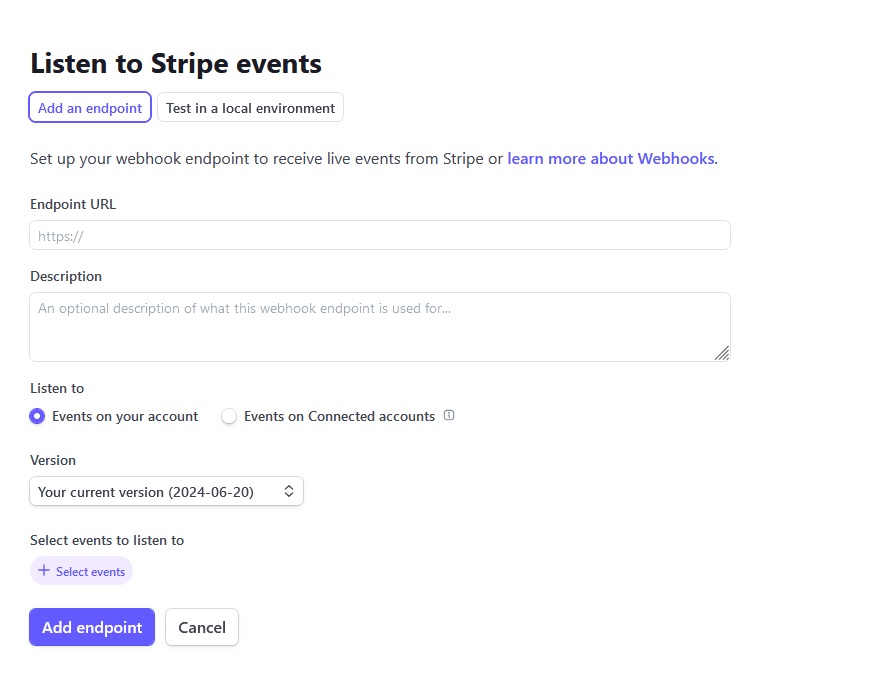
Do not enable Listen to Events on Connected accounts as this will cause the webhook not to function correctly.
You now will need to add the specific events to listen to by clicking the button labeled +Select events. After doing that, you can copy and paste each event listed below into the Select events to send → Search events search box.
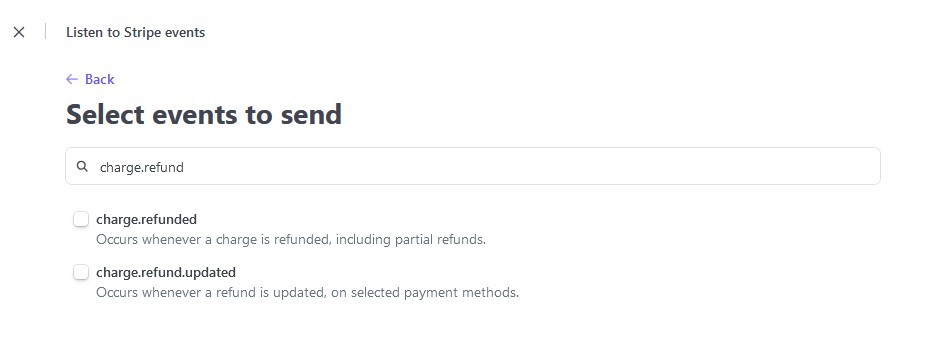
After searching each term, click the checkbox to add it, and the search additional terms. Do not click Add events until you’ve checked all events listed below:
account.updatedpayment_intent.processingpayment_intent.succeededpayment_method.attachedcheckout.session.completedcustomer.subscription.deletedcustomer.subscription.pausedcustomer.subscription.resumedcustomer.subscription.updatedinvoice_payment.paidinvoice.payment_failed
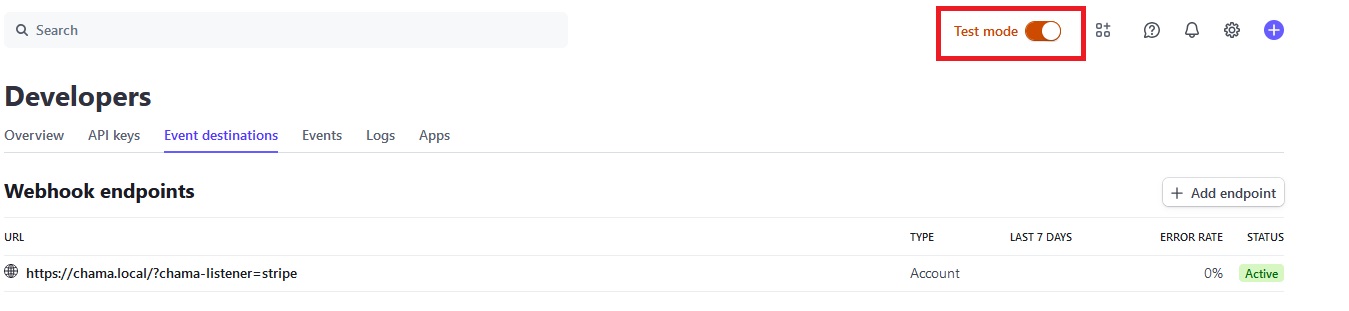
When you’re done adding events, click Add endpoint to complete the process. After you add the endpoint, you should see the new URL listed in the webhooks settings.

Make sure to repeat the process by switching off the “Test mode” in Stripe so that you can have the webhook set up for whenever you are ready to switch ChamaWP to “Live mode”.
If you do not configure your webhooks correctly, you will end up with transactions not being marked as complete in your WordPress dashboard, even though they are complete at Stripe. If your transactions are not complete, no email receipts will be sent out. Also if your subscriptions are not activated, your members will not be able to access the protected content.
Once your webhook is setup, payment transactions should start showing up in your WordPress dashboard.